> ## Documentation Index
> Fetch the complete documentation index at: https://domoinc-openapi-sync-dataflows.mintlify.site/llms.txt
> Use this file to discover all available pages before exploring further.
# Integration Studio
## Intro
Integration Studio allows you to build your data pipeline from start to finish, all in Magic ETL. With Integration Studio you can configure a Connector, build your pipeline, and then configure your Writeback Connector all from the Magic ETL canvas.
**Note:** Integration Studio is enabled after you purchase a Writeback Connector. For a list of available Writeback Connectors, see Writeback Connectors.
## Using Integration Studio
1. Drag the
**Input DataSet** tile onto the Magic ETL Canvas.
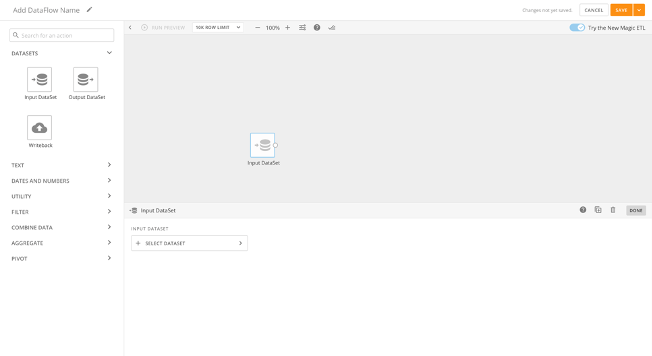 2. Choose
**Select DataSet** and then either choose a pre-existing DataSet or **Create New** to configure a new Connector.
2. Choose
**Select DataSet** and then either choose a pre-existing DataSet or **Create New** to configure a new Connector.
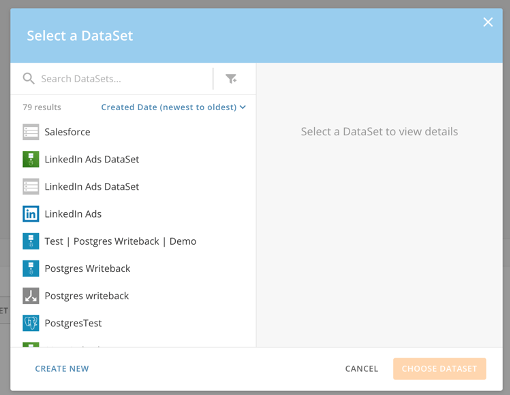 3. Search for the Connector you want in the Search Connectors Box.
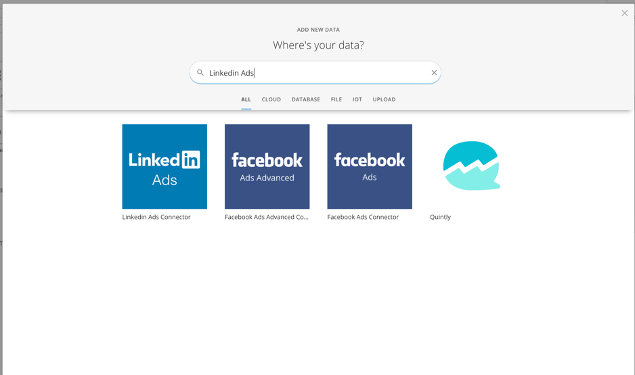 4. Configure each step of the Connector Wizard and select
**Save** to finish. Your DataSet will build and the columns will appear in the **Configuration** section.
4. Configure each step of the Connector Wizard and select
**Save** to finish. Your DataSet will build and the columns will appear in the **Configuration** section.
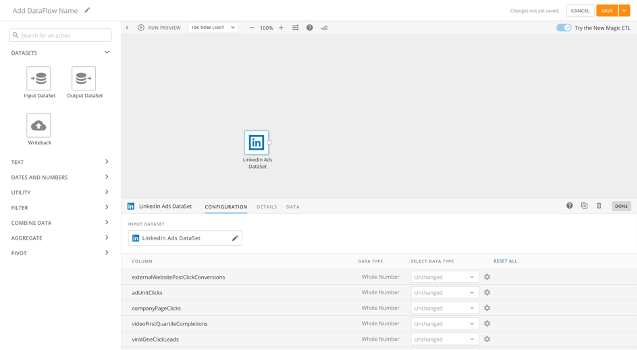 5. Add more tiles to cleanse and manipulate your data if desired.
6. Drag the
**Writeback** tile onto the Canvas found in the **DataSets** section of Magic ETL.
7. Name the output DataSet and add an optional description. Then, select
**Configure Writeback**.
5. Add more tiles to cleanse and manipulate your data if desired.
6. Drag the
**Writeback** tile onto the Canvas found in the **DataSets** section of Magic ETL.
7. Name the output DataSet and add an optional description. Then, select
**Configure Writeback**.
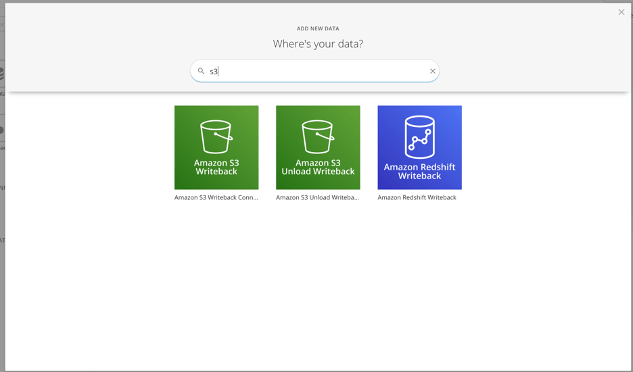
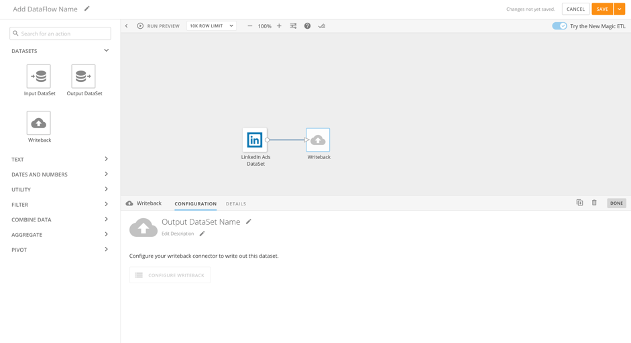 8. Select the Writeback Connector you would like to use.
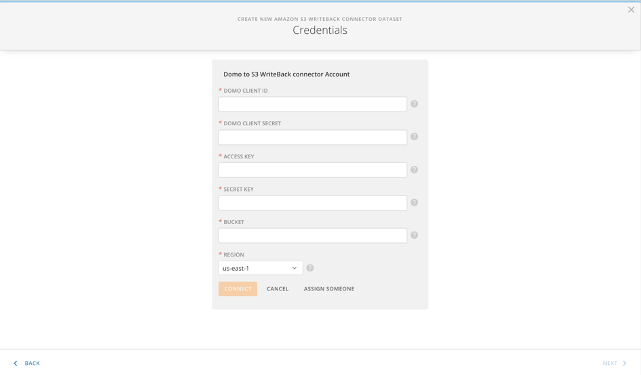
 9. Set up the Connector configuration (you will need a Client ID and Secret from
[https://developer.domo.com](https://developer.domo.com "https://developer.domo.com").)
9. Set up the Connector configuration (you will need a Client ID and Secret from
[https://developer.domo.com](https://developer.domo.com "https://developer.domo.com").)
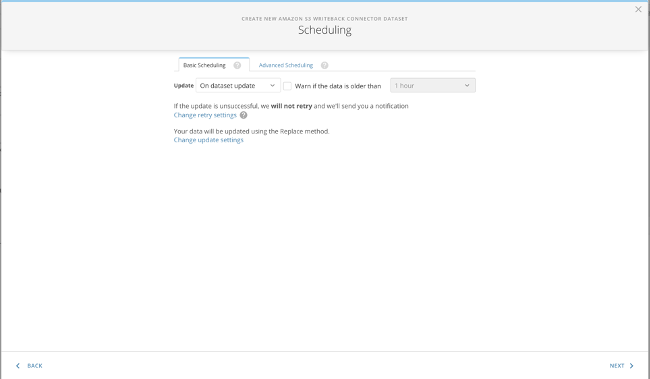
 10. Choose,
**O** **n dataset update** to update the Writeback DataSet whenever the DataFlow runs, or set a schedule to run at specified times.
10. Choose,
**O** **n dataset update** to update the Writeback DataSet whenever the DataFlow runs, or set a schedule to run at specified times.
 11. Choose
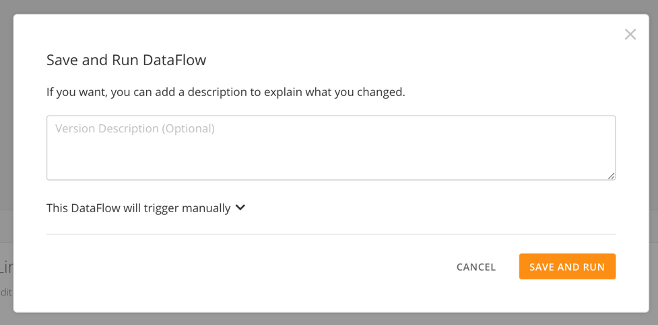
**Save and Run** to run your DataFlow and the Writeback Connector.
11. Choose
**Save and Run** to run your DataFlow and the Writeback Connector.
 Your Writeback Connector is now properly configured and you can continue to build your Magic ETL DataFlow.